Customer Service
1-877-810-4116


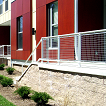
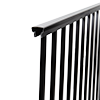
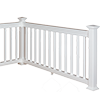


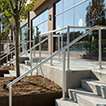
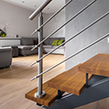


How to Install Cable Railings
Installing the Standard Cable Assembly System is easy.Important Note: Building codes vary by city and county; therefore, following the installation and railing design instructions detailed on this website does not necessarily ensure code compliance in all areas. So, before starting your project, be sure to consult your building department on local requirements for using and installing cable railings. |
|
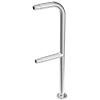
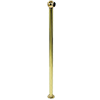
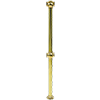
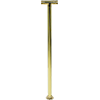
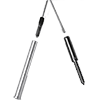
Tools Needed:
|
|
Just follow these simple steps:
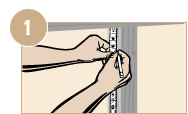
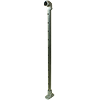
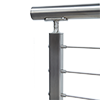
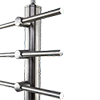
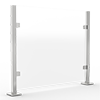
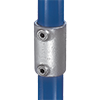
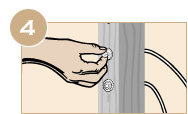
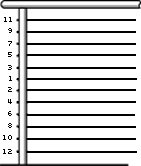
STEP 1 Mark drill hole locations. For safety, space cables no more than 3 inches apart and have a post or vertical spacer at least every 3 feet. See The Frame Requirement Page
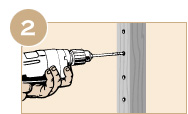
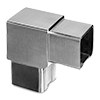
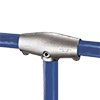
STEP 2 Drill holes in one end post for Threaded Terminal fittings, holes in the other end post for the Quick-Connect® SS fittings and holes in all other intermediate railing posts. As an option to drilling a large hole all the way through the post for the Quick-Connect® SS fitting, we recommend counterboring the fitting, see the counterbore diagram for details.
Drill Hole Chart
| Assembly Size | Threaded Term. Post | Intermediate Post | Quick-Connect® SS Post |
| 1/8" | 5/16" | 1/4" | 3/8" |
| 3/16" | 3/8" | 1/4" | 9/16" |
| 1/4" | 7/16" | 5/16" | 9/16" |
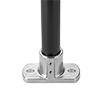
STEP 3 (WOOD FRAMES ONLY)
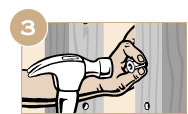
Insert Protector Sleeves into post holes wherever the cable enters at an angle and has a tendency to cut into the wood (e.g. stair transition posts or outside faces of double corner posts). Tap in until flush. See Protector Sleeve details.
Insert Protector Sleeves into post holes wherever the cable enters at an angle and has a tendency to cut into the wood (e.g. stair transition posts or outside faces of double corner posts). Tap in until flush. See Protector Sleeve details.
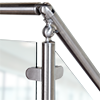
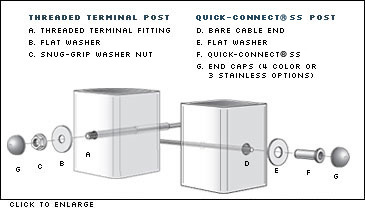
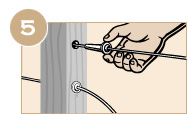
STEP 4 Pass the Threaded Terminals through the end post and attach a Flat Washer and Snug-Grip® washer nut. Spin the Snug-Grip® washer nut until about 1/4" of thread is exposed on the end (note: when spinning the nut you will encounter significant resistance as the special Snug-Grip® threads engage; hold the terminal with Vise-Grip pliers if necessary). For angled terminations such as stair posts, see details for wood frames or steel frames.
STEP 5 Using a Cable Lacing Needle (optional) lace the cable through the intermediate posts and through the opposite end post. Slip a Flat Washer and Quick-Connect® SS fitting on to each loose cable end and continue sliding until the fittings rest against the post face.
Do not attempt to pass the lacing needle through the Quick-Connect® SS fitting.
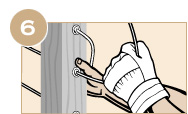
STEP 6 Hold the Quick-Connect® SS fitting with one hand and pull the cable tight with the other. The Quick-Connect® SS automatically locks when you release the cable.
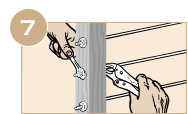
STEP 7 Using a 7/16" wrench, tighten the Snug-Grip® washer nuts on the Threaded Terminals until you cannot flex the cables more than 4 inches apart. Hold the shaft of the Threaded Terminal with Vise-Grip pliers while tightening.
Important note: if using electric or pneumatic tools to tighten the washer nuts, you must spin the nuts very slowly--no faster than you can spin with hand tools--otherwise the washer nuts will quickly heat-up causing the threads to possibly gall and seize.
Important note: if using electric or pneumatic tools to tighten the washer nuts, you must spin the nuts very slowly--no faster than you can spin with hand tools--otherwise the washer nuts will quickly heat-up causing the threads to possibly gall and seize.
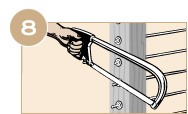
STEP 8 After all the cables are fully tightened, trim-off the excess threads on the Threaded Terminal fittings as close to the Snug-Grip® washer nut as possible. Use a hand hack saw, reciprocating saw or electric grinder with a cut-off disk. Touch-up sharp ends with a grinding disk.
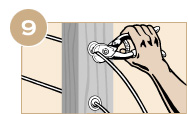
STEP 9 Using cable cutters or an electric grinder with cut-off disk, trim the excess cable from behind the Quick-Connect® SSfittings. Grind flush the exposed cable ends with a grinding disk.
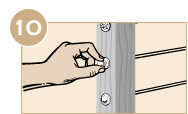
STEP 10 Snap-on End Caps over the exposed Quick-Connect® SSfittings and Snug-Grip® washer nuts. You're done. Enviro-Magic® Cleaner can be applied for lasting protection of stainless steel cable and parts.